Let's Shake Postcards Up: How To Make Shaker Postcards
Postcards are such a fun thing to receive in the mail. I am always looking to make my mail more interesting and unique. I love the current craft trend of making shaker cards, journaling cards and pocket letters. So I decided to fuse my love of postcards and shaker cards together. This mail is guaranteed to make your recipient smile and hopefully your postman too!
 |
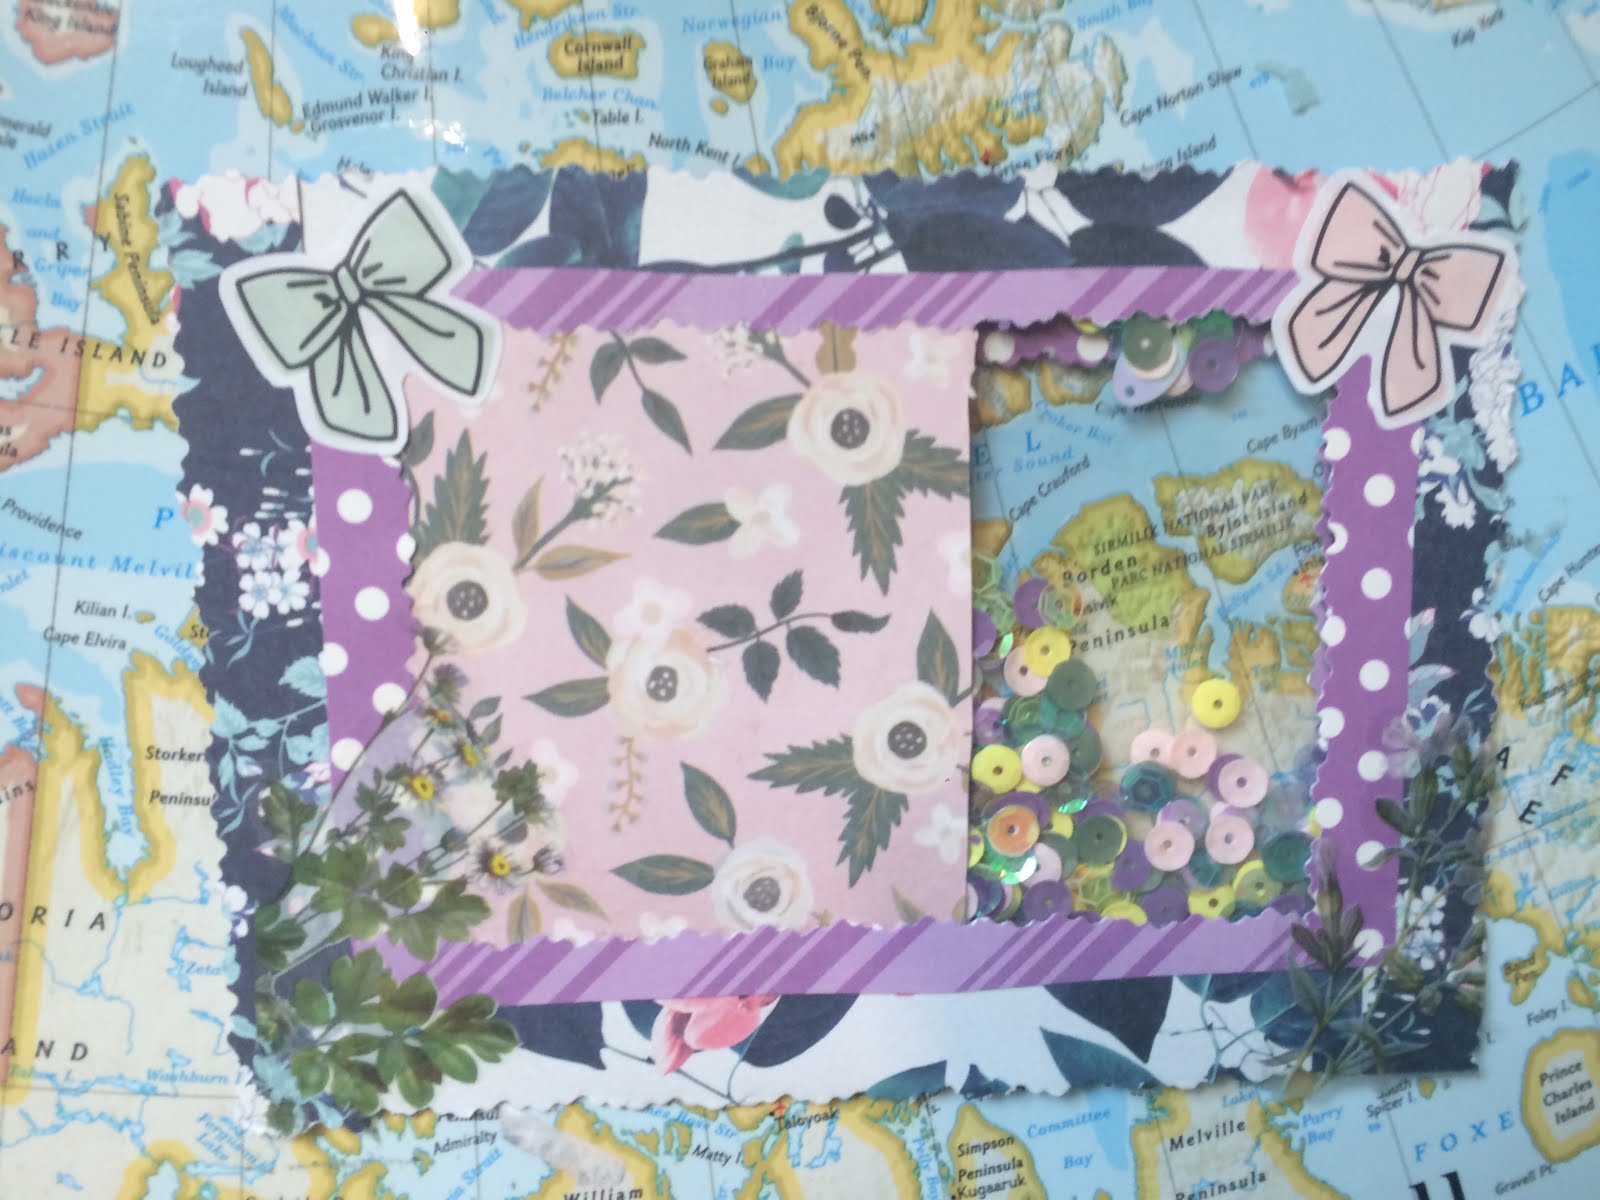
| Shaker Postcards: the Finished Product |
The Supplies:
 |
| Supplies |
- Sequins, Confetti, Buttons, anything you want to put in your shaker card!
- Paper
- Pen
- Clear Plastic Envelopes
- An Exacto Knife
- Glue
- Permenant Adhesive Roller
- Scissors
- Embelishments
A Note on the Plastic Envelopes. The saying goes "I craft therefore I hoard," which means I keep all the clear plastic bags that craft supplies come in. This is a great way to reuse the clear plastic bags that come with paper products and to reduce waste. Waste Not Want Not!
Step 1: Cut Paper the size of your desired Postcard
One of the nicest things about Postcards is that you can practically send any size or shape postcard. Just make sure you use correct postage!
Step 2: Cut hole in Paper
Whether you are cutting a hole in one piece of paper or two it is important to make the whole smaller than the plastic bag that you are filling with your sequins.

I placed my plastic bag down and then marked a quarter inch in from the edge of the plastic bag. This allowed the bag to be glued to the sides of the paper and prevented any gaps between the paper and the plastic.

Step 3: Cut the Paper with an Exacto Knife
I used my trusty mouse ruler and an Exacto knife to make the cut. I really don't trust myself to make a straight line free handed. If you have a square/circle shaped punch, this can bypass the time-consuming task of cutting the paper out. Please be careful and don't accidentally cut yourselves!

Step 4: Fill your Clear Plastic Envelopes Up
Place water ever fun material you want into the envelopes. Make sure your envelope is resealed. I resealed my envelopes at the very top so you would not see the seam so that the paper would cover it.

Step 5: Use Adhesive Roller to Adhere Pocket to Plastic
I used a permanent adhesive roller in order to place the clear pocket onto the paper. You can also use double sided tape or a strong craft bond glue stick. I then used a glue stick to glue the rest of the paper together.

Step 4: Embellish
This is probably the best part of the project! Get out your stickers, washi, die-cuts, and ephemera and get to work!


Step 5: Send to Your Penpals!
As a precaution, I used a forever stamp. I can't wait to see what you create.
ReplyDeleteThank you for giving us tricks and tips for making shake postcards!
Your works always make me a smile.
Also, I like your frame of mind
"I craft therefore I hoard," which means
I keep all the clear plastic bags that craft supplies come in.
Thank you for your kind words!
DeleteThese are adorable! What a fun way to send a short note!
ReplyDelete