Embroidery Hoop Party: How to make shaker embellished hoops
Do you know the feeling of right when you are about to fall asleep a new craft idea pops into your head? This is how I came up with the idea to create an embellished shaker hoop with a clip to hold a letter, notes, lists, stickers, or really anything you could ever need a clip for. Embellished embroidery hoops are one of my favorite crafts to make. In the past, I have just created hoops with pockets, but today I wanted to show you how to make a fun shaker hood with a clip. I send these to my penpals with a letter attached. It is a great way to surprise a penpal. Additionally, it is a great piece of artwork that can be shown off in your craft room/craft corner/ craft nook.


The Supplies:
- A hot glue gun
- sequins/glitter
- An embroidery hoop
- A binder clip
- Clear acetate or vellum (any clear or opaque material will work)
- Normal card stock
- Scissors
- A pencil/pen
- Any other embellishments that you would like to add to your hoop

I decided to not share a picture of my glue gun with y'all as it looks like it was thrown off a truck into a swamp that had glitter in it. I also highly recommend having a bowl of cool water in case you burn your fingers.
Step 1: Cut paper and acetate to fit the back of the hoop

I used a trusty pencil to trace the perimeter of the hoop. When you are cutting it is easiest if you have both of the pieces of paper on top of each other to make sure you get an exact cut. Important: The clear/transparent paper that you will be using will be glued down first! I always like to leave myself an extra wiggle room to work on when cutting the paper. The papers I used in this project are from the Planner Society's bimonthly kit. I LOVE their stuff and was super excited to use it in this project.
Step 2: Glue paper to the hoop:
Glue the acetate/transparent paper down first onto the hoop. Make sure if you are using a patterned paper that the bold/colorful print is the one that is showing. As you can see my glue gun is not the most aesthetic but it gets the job done.

Step 3: Glue 2nd piece of paper onto the hoop leaving a hole to be able to fill your hoop with the sequins
Make sure that you glue the next piece of paper on the perimeter of the other piece of paper. Stay as close to the edge as possible and make sure to leave no gaps except for the gap on the top where you will be filling your hoop with glitter or sequins.

Step 4: Fill with glitter/sequins
Fill your hoop with as much glitter as you want! After you are done gluing up the top of the hoop. I found it was helpful to slightly bend the backing paper before adhering it onto the hoop. I also used my trusty pair of scissors to help keep the opening wide enough to put in all of the sequins. I honestly felt like I was on the crafty operating table when I was filling the hoop with sequins. You can call me Dr. Crafty Liv.
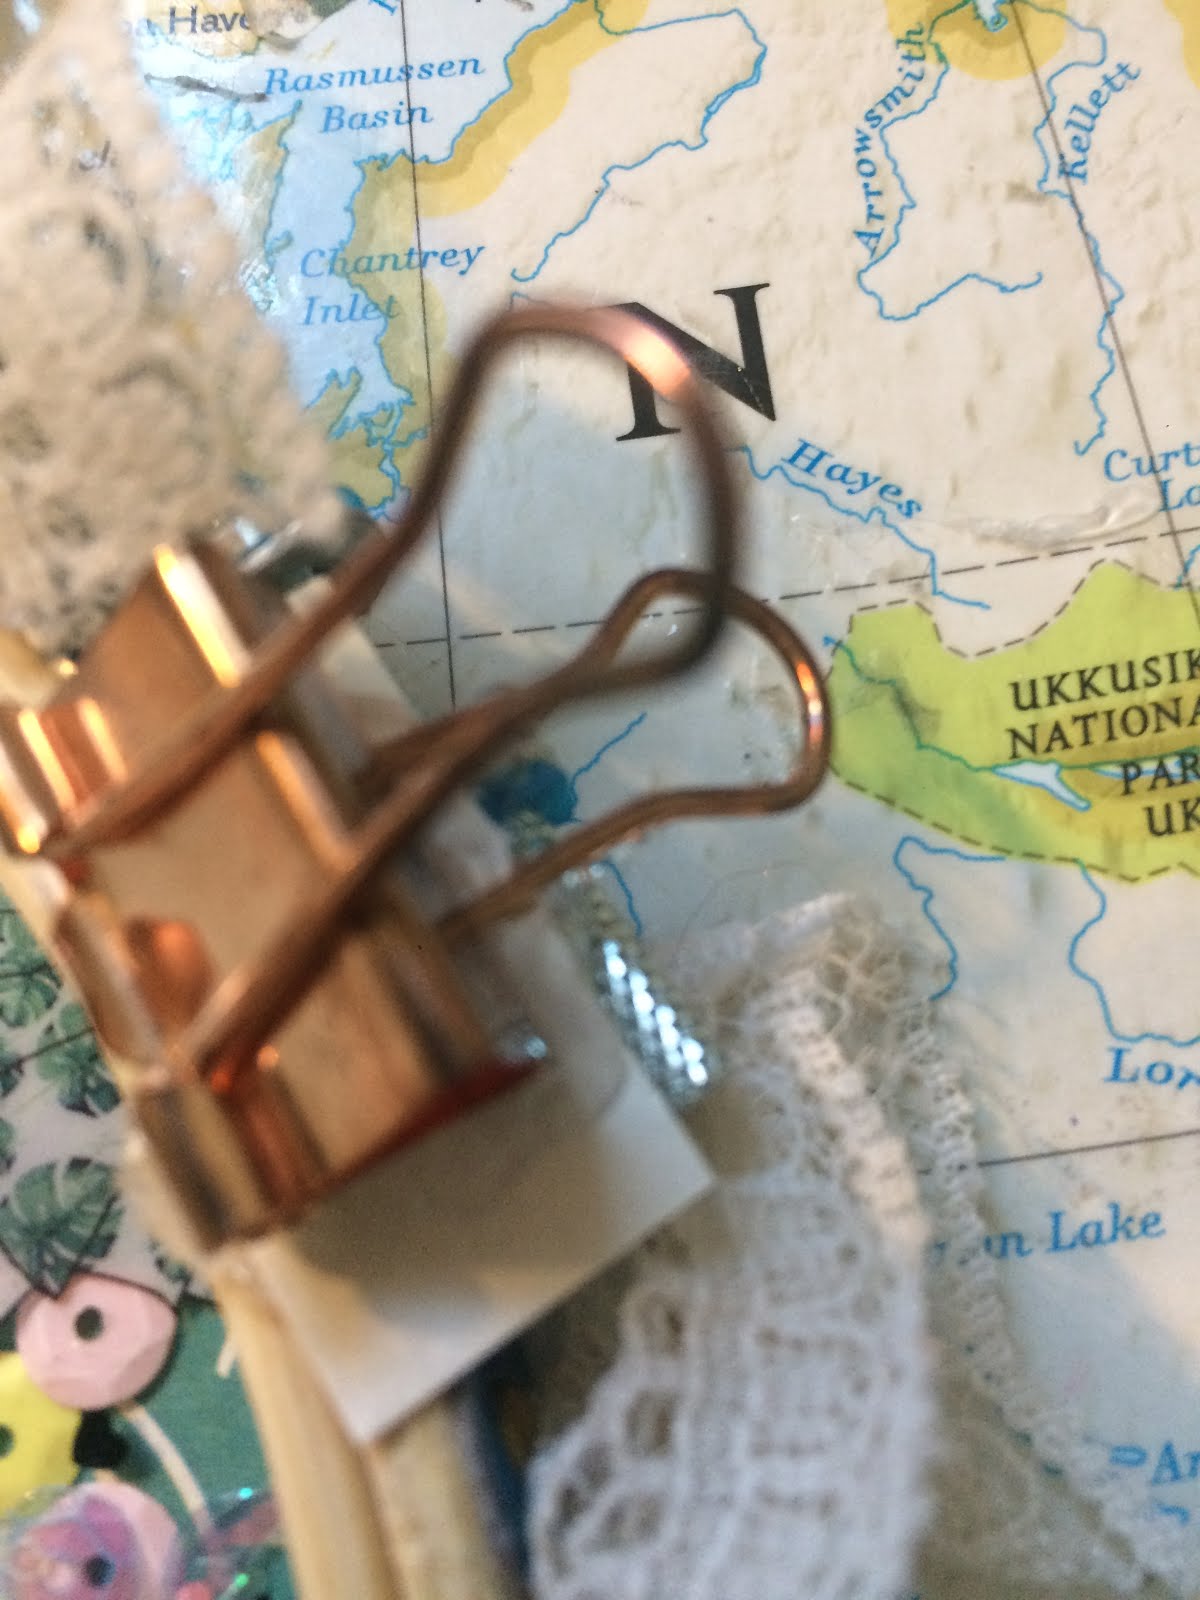
Step 5: Glue the binder clip onto the hoop:
I used a piece of paper to adhere to the clip to the hoop. I covered the clip with embellishments to hide it. Make sure you don't get glue into the clip!
Step 6: Decorate
Embellish your hoop to your heart's content! I can't wait to see what y'all create.


So cuteee!!!😍😍 also i’m @Elise.vtx if you wanted to knoww☺️
ReplyDelete